Recording
Recording happens through the HUD — a draggable, always-on-top overlay pill. It ignores mouse clicks everywhere except its own controls, so it never gets in the way of the app you're recording.
Choosing a source
The source picker button shows the currently selected screen or window (truncated) and is disabled once recording starts. Clicking it opens a separate window with two tabs:
- Screens — one card per display.
- Windows — one card per open window, with its app icon.
- Area — pick the screen, then drag a rectangle over it: the overlay shows the selection's pixel size,
Enterconfirms andEsccancels. Not offered on Linux, where the desktop portal chooses the screen instead.
Pick a thumbnail and hit Share. If no source is selected when you hit record, Capturia opens the picker first and starts recording automatically once you choose one.
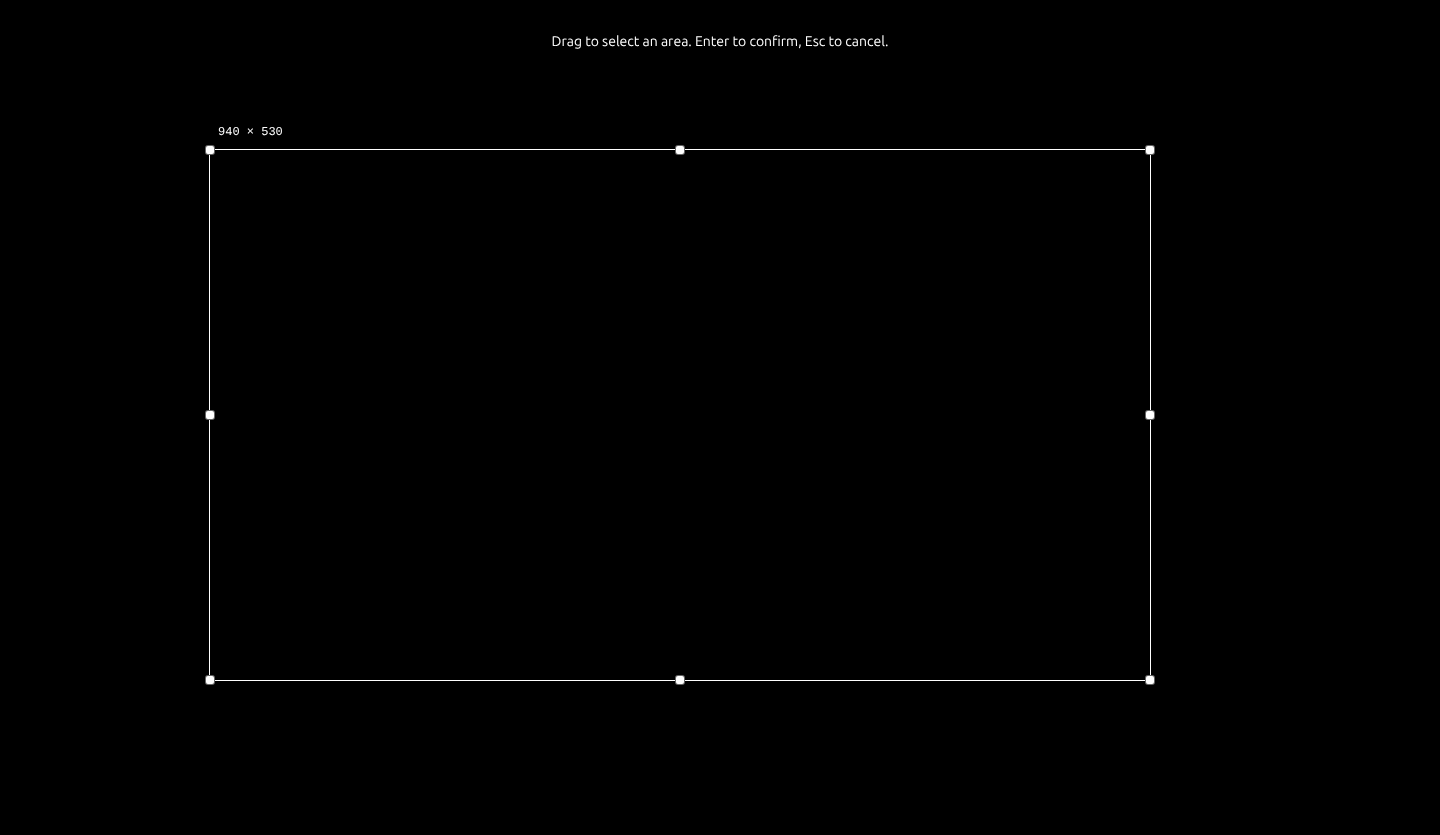 Area recording: drag the rectangle,
 Enter to confirm.
Audio
Three toggles live in a single control group:
- System audio — captures what's playing on the machine. Disabled once recording starts.
- Microphone — toggling it on (while idle) opens a popup with a live 5-bar audio level meter and a dropdown of every available input device, so you can confirm the right mic before you go live.
- Webcam — toggling it on shows a camera picker with the same states you'd expect (searching, unavailable, no camera found). The webcam records as its own track, composited later in the editor.
System audio support depends on your OS — see platform differences.
Cursor mode
On macOS and Windows only, a cursor-mode toggle switches between:
- Editable overlay (default) — Capturia draws a stylized cursor you can theme, resize, and animate in the editor.
- System — records the OS cursor as-is, unedited.
This toggle isn't available on Linux, where only cursor position is captured (used for auto-zoom, not for a themed overlay).
Recording controls
- Record / Stop — a pill that shows the source name on hover when idle, and a live
mm:sselapsed timer while recording (the background turns amber if paused). - Pause / Resume — available mid-recording.
- Restart — throws away the current take and starts fresh.
- Cancel — discards the current take without saving.
- Flag this moment — drops a marker at the current time while recording; the timeline's Zooms at flagged moments turns each flag into a zoom afterwards.
- Open Studio — switches to the editor (hidden while recording).
Countdown
Hitting record triggers a 3‑2‑1 countdown, rendered as a full-desktop overlay, before capture actually starts.
Other HUD controls
- Layout toggle — switches the HUD between horizontal and vertical, persisted across sessions.
- Settings — device settings for the selected mic and camera without leaving the HUD, plus capture frame rate, resolution, and where takes are saved (see below).
- Notes — opens a small rich-text scratchpad window, handy for a script or cue sheet while you record. It's saved locally between sessions.
- Language — a locale picker (13 languages) that only affects the Capturia UI, not your recording.
- Window controls to hide the HUD or quit the app.
Where recordings are saved
HUD Settings has a Save recordings to row: Change… points new takes at any folder you like, Reset puts them back in the default one. Earlier recordings stay where they were saved. The same panel sets the capture frame rate and resolution — lower them if frames are dropped while recording.
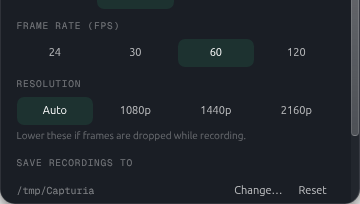 Capture settings, with the folder new recordings land in.
Recording from the editor (Rec mode)
You don't have to start from the HUD. In the editor, switch the top bar to Rec to get a full-size pre-flight page instead of a pill:
- Source — same screen/window picker, in a modal.
- System audio, Microphone, Camera — each an on/off row; mic and camera expand to a device list, and the camera shows a live preview so you can frame yourself before going live.
- Cursor highlight — on means the editable overlay cursor, off means the plain system cursor.
Start recording opens the recording widget and closes the editor window; cancelling drops you back into Edit mode. This is also the starting point New project → Screen recording takes you to.
Native vs. browser capture
macOS (ScreenCaptureKit) and Windows (Windows Graphics Capture) record through a native pipeline for higher-quality, clean window-level capture, including real cursor bitmaps and native webcam capture. Linux records through a browser-based pipeline instead — screen and webcam capture still work, but cursor themes and click effects aren't available since only cursor position is tracked. See the full platform differences table.
Once you've stopped recording, head to Editing & timeline to cut it into shape — or to Media library if you're assembling several takes.